Self-hosted image compressor — run Scalir with Docker
Run your own self-hosted image compressor with Docker — a private, self-hosted image optimiser behind your firewall, with no per-image limits and no data leaving your network. Pick the deployment method that suits your setup.
Dockerfile builds the tool only (what most self-hosters want), and Dockerfile.landing builds the full site (this landing page + the tool). When a deployment panel asks for a
Dockerfile path, pick the one you want.Option A — Docker Compose Recommended
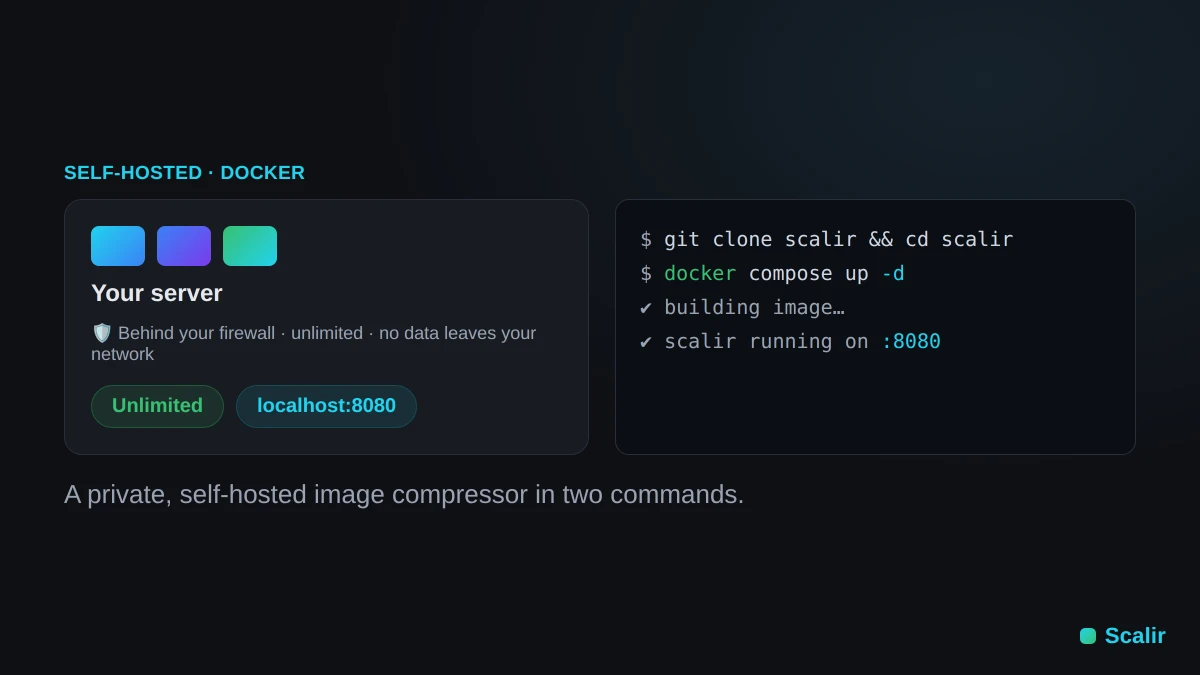
The quickest way to run Scalir as a Docker image compressor: clone the repo
and bring up the scalir service (the tool). Nginx serves it on port 8080 —
point your reverse proxy at that.
# 1. Clone
git clone https://github.com/therealshxd/scalir
cd scalir

# 2. Start the tool (builds the image on first run, ~60 s)
docker compose up -d scalir

# Tool is now running at http://localhost:8080
The compose file also defines a scalir-landing service (port 8081) that
serves the full site. Run docker compose up -d scalir-landing for that, or omit
the service name to start both.
To update to a newer version, pull the latest code and rebuild:
git pull
docker compose up -d --build
To run on a different port, edit docker-compose.yml and change "8080:80" to your preferred port before starting.
Option B — Dokploy, Coolify & similar panels
If you manage your server with a Docker-based deployment panel, Scalir works out of the box
since it ships a Dockerfile. The steps below are for Dokploy but are nearly
identical for Coolify,
Caprover, and others — just look for "new app from Git".
Steps (Dokploy)
- In your Dokploy dashboard → Create Project → Create Service → Application (not Compose).
- Under Provider, connect GitHub and select the repo (or paste the public repo URL), branch
main. - Set Build Type to Dockerfile. Note this is a separate card below the Git source section — not inside the GitHub tab.
Then set the Docker File path to
Dockerfilefor the tool (useDockerfile.landingfor the full site). - Set Container port to
80. - Add a domain under the Domains tab and enable HTTPS.
- Hit Deploy. Dokploy builds the image and starts the container.
Updating manually: after new commits land on main, hit Redeploy in the dashboard — Dokploy pulls the latest commit and rebuilds
the image. Note that tracking is by branch, not git tags.
Auto-deploy on push (optional)
To rebuild automatically on every push to main, set up a webhook one of two ways:
- GitHub App (cleanest): Dokploy → Settings → Git → GitHub →
install the GitHub App and grant it access to your repo. Then open the app → Provider, confirm branch
main, and toggle Auto Deploy → On. Dokploy creates and manages the webhook for you — nothing to do on the GitHub side. - Manual webhook: on the app, toggle Auto Deploy → On and copy
the Webhook URL it shows. In GitHub → repo Settings → Webhooks → Add webhook, paste it as the Payload URL, set
Content type to
application/json, choose Just the push event, and save.
Verify with a test push: the GitHub webhook's Recent Deliveries should show a 200, and a new build should appear under the app's Deployments tab.
After any deploy: hard-refresh the site (Ctrl/Cmd-Shift-R). Scalir is a PWA, so the service worker can serve cached assets until it updates.
Coolify: same flow — New Resource → Public Repository → paste the repo URL
→ Build Pack: Dockerfile → Dockerfile location Dockerfile (or Dockerfile.landing) → set port to 80 → Deploy.
Option C — Manual build
Build the static files yourself and serve them from any host — nginx, Caddy, Apache, Netlify, Cloudflare Pages, etc.
Requirements: Node.js 20+
# 1. Clone and install
git clone https://github.com/therealshxd/scalir
cd scalir
npm install

# 2. Build the standalone app
npm run build:app
# Output: dist-app/

# 3. Serve with any static server, e.g.:
npx serve dist-app
Copy dist-app/ to your web server's document root. No server-side logic needed
— it's a fully static site.
nginx example — minimal config to serve from /opt/scalir:
server {
    listen 80;
    root /opt/scalir;
    index index.html;
    location / {
        try_files $uri $uri/ /index.html;
    }
}
Self-hosting FAQ
How do I run a self-hosted image compressor with Docker?
Clone the repo and run docker compose up -d, or build the image straight from the Dockerfile. In a couple of minutes you have a self-hosted image compressor served by Nginx on your own server, with no accounts and no per-image limits.
Is the self-hosted version unlimited?
Yes. Unlike the hosted site, the self-hosted image optimiser has no soft per-session limit — process as many images as you like, as often as you like, entirely behind your own firewall.
Can I use it as a docker image compressor in my own pipeline?
Absolutely. Because it ships as a Docker image compressor you can run it on your own infrastructure behind a reverse proxy, or as an internal service your team points at — private, unlimited and with no external dependencies.
If Scalir is useful to you, a short mention anywhere you like is all I ask. ← Back to the tool